The KNIME Data Functions allows you to set up a bi-directional data exchange between Spotfire and KNIME.
How to create a KNIME workflow for Data Functions
Here is an example of a compatible KNIME workflow:
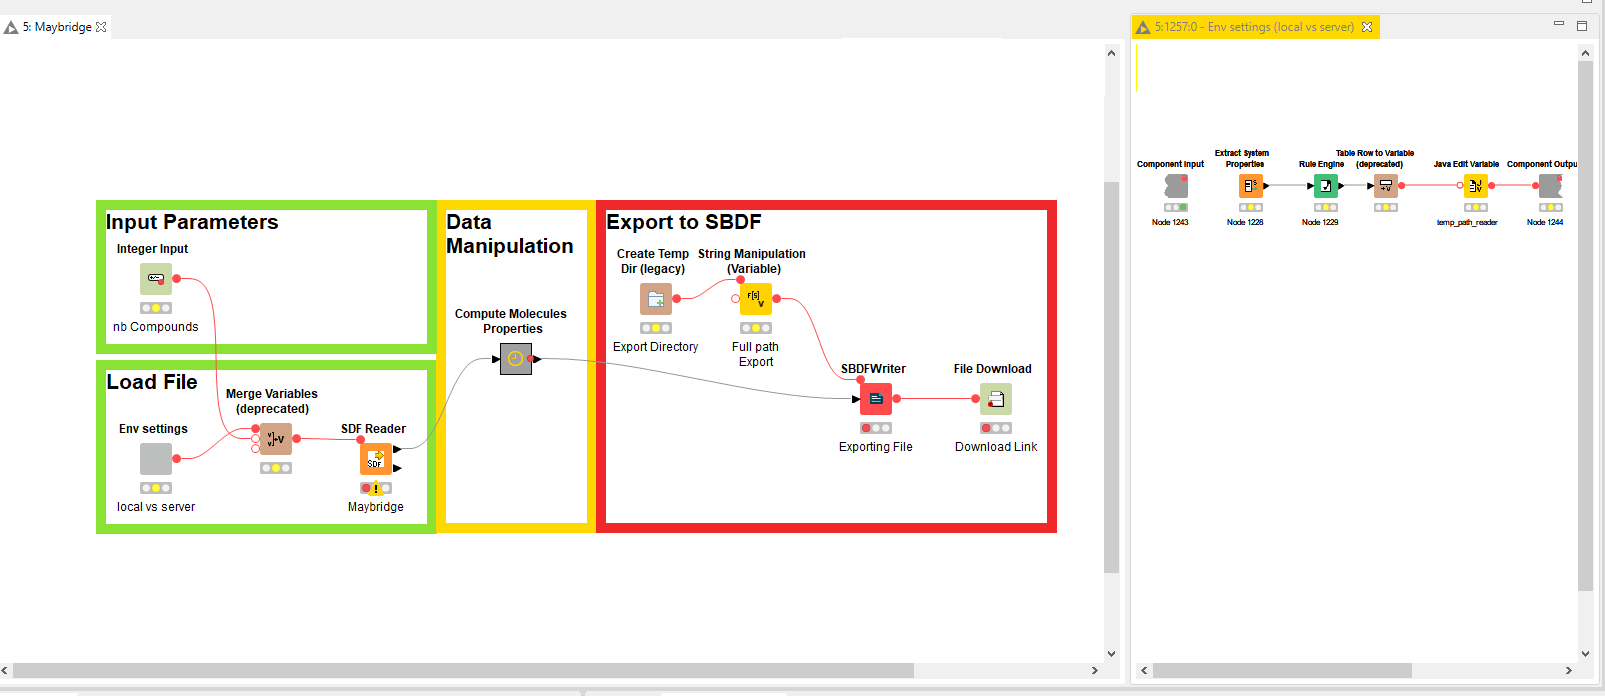
There are multiple possible types of input parameters that a KNIME Workflow might expect:
- <Value> Input: includes string, datetime, integer, double. No special needs for this kind of input.
- <Column> Input: includes json, credentials input, list inbox input. No special needs for this kind of input, data will be read as a column by KNIME.
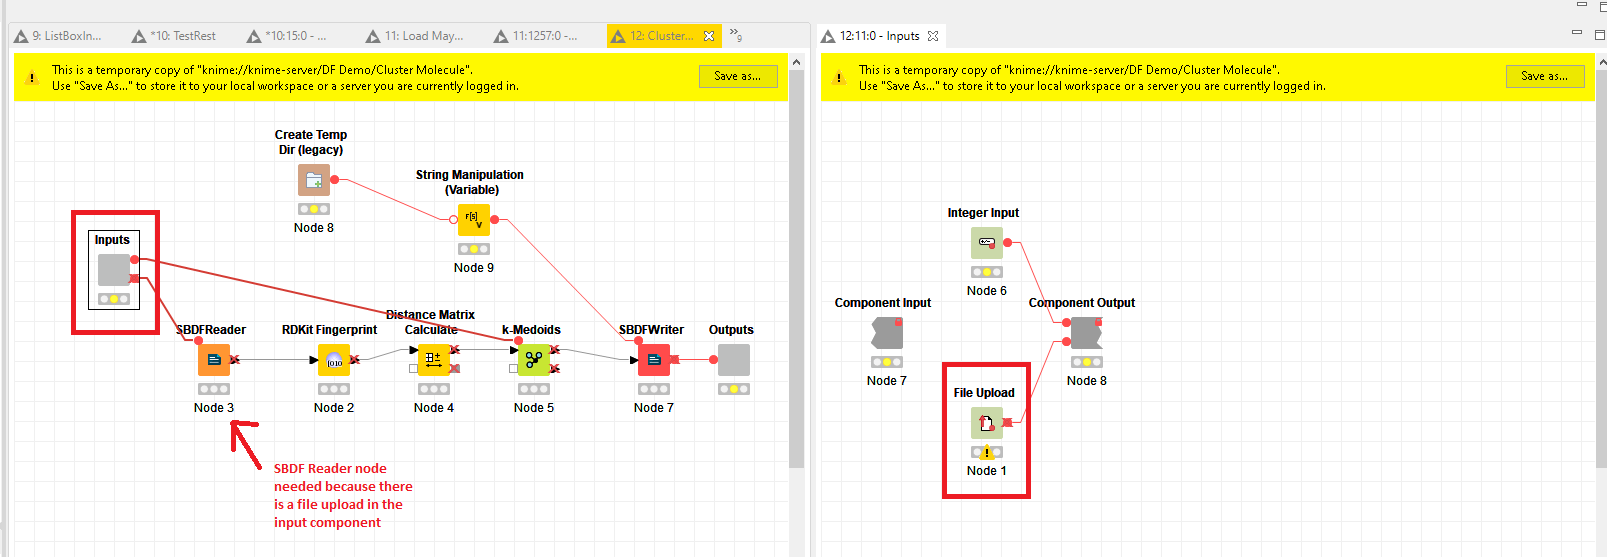
- File Upload Input: Spotfire Data Function will only upload SBDF file. So you will need an SBDF Reader node after the upload node:
For outputs, KNIME Data Function will understand the following kind of outputs:
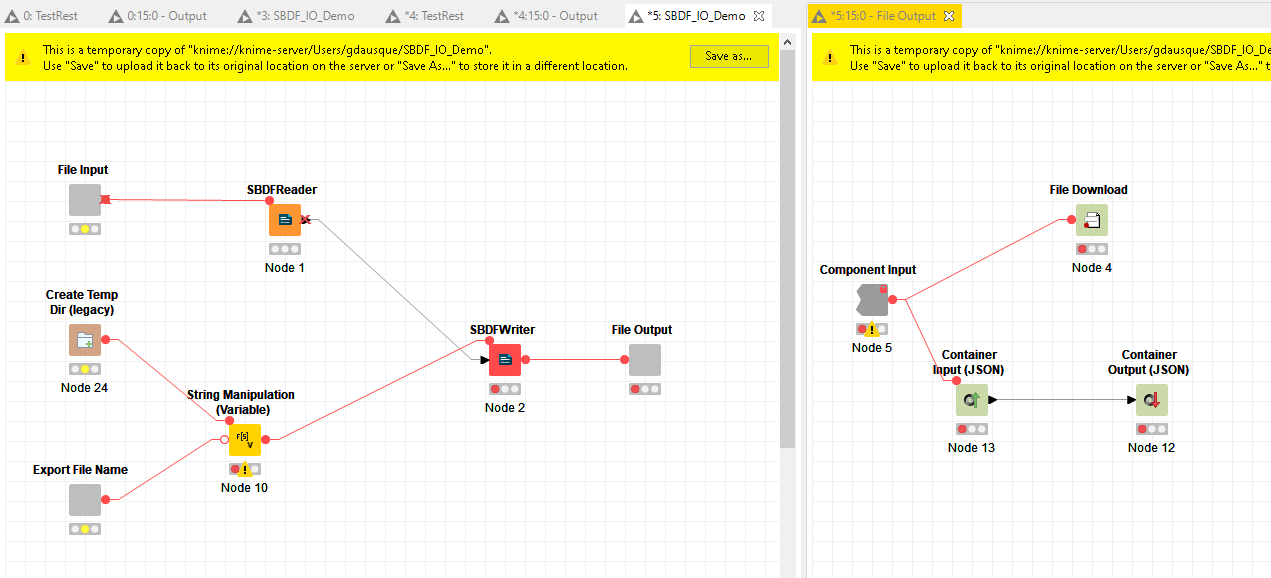
- File output: only SBDF can be read, so before using a File Download output node, use a SBDF Writer to create the SBDF.
- Others: includes text and json output. Will be treated by the Data Function as a new table and pushed to it.
How to Register a KNIME Data Function
Once a compatible workflow is available on the KNIME server, to use it you have to register the KNIME Workflow as a Spotfire Data Function.
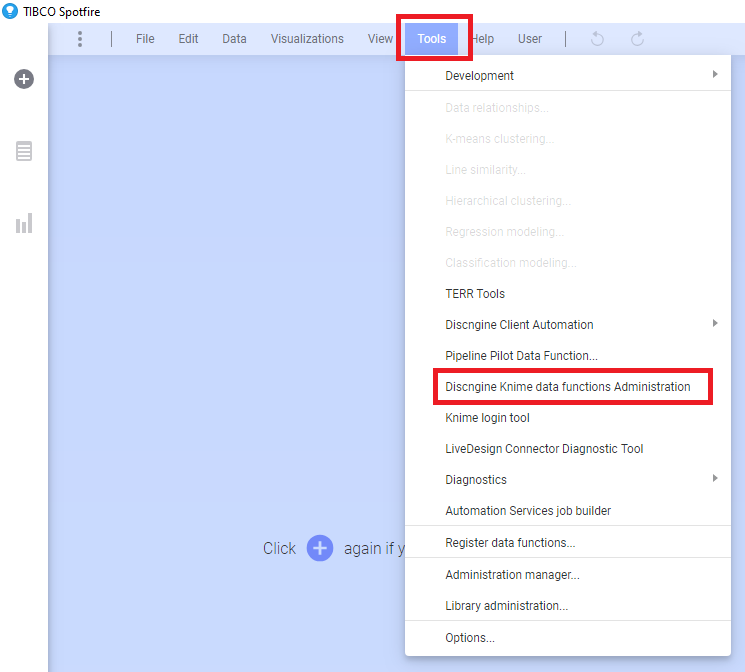
To do that, launch Spotfire analyst and go to _Tools > Discngine KNIME data functions Administration
In the current window, you have three tabs that describe the content of the Spotfire Library from the DefaultRootPath defined in the Spotfire Preferences see the Installation Guide:
- the Table View displays the content of the folder using a simple data grid (where you can see the Spotfire library path and the corresponding workflow path in the KNIME server folders)
- the Spotfire Library View one shows the same information but using the Spotfire library tree structure
- the KNIME View shows the same information but using the KNIME Server tree structure
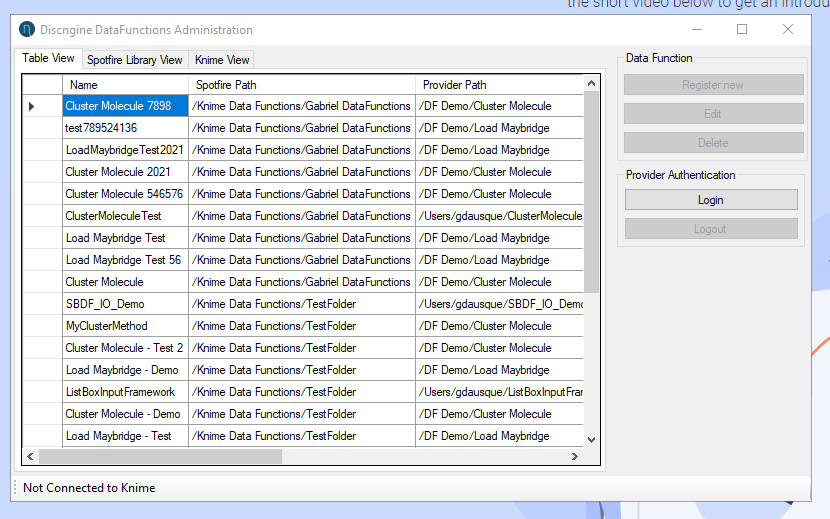
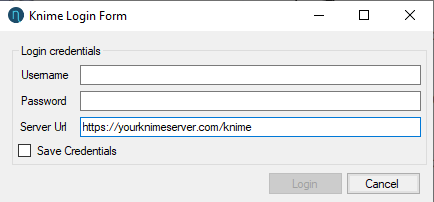
To register a new Data Function, you must login to the KNIME Server using the login button:

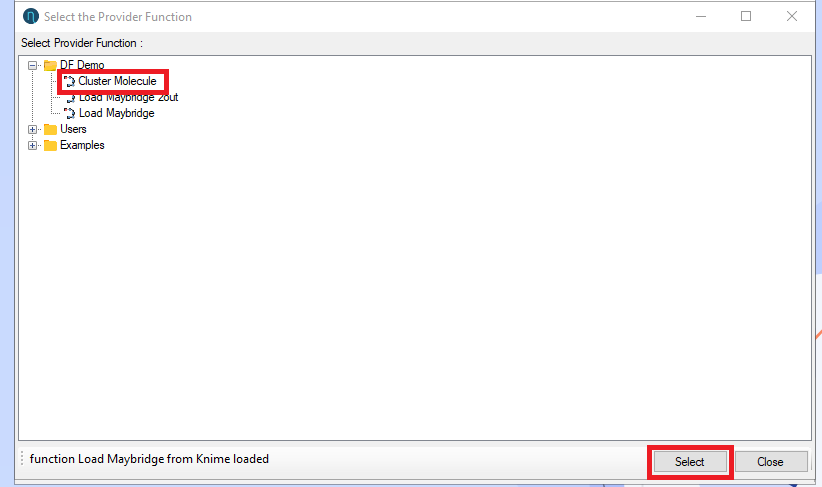
Then click on "Register New". The new window opening show you the KNIME library structure with each workflow available. Select the one you want and click on select or double-click:
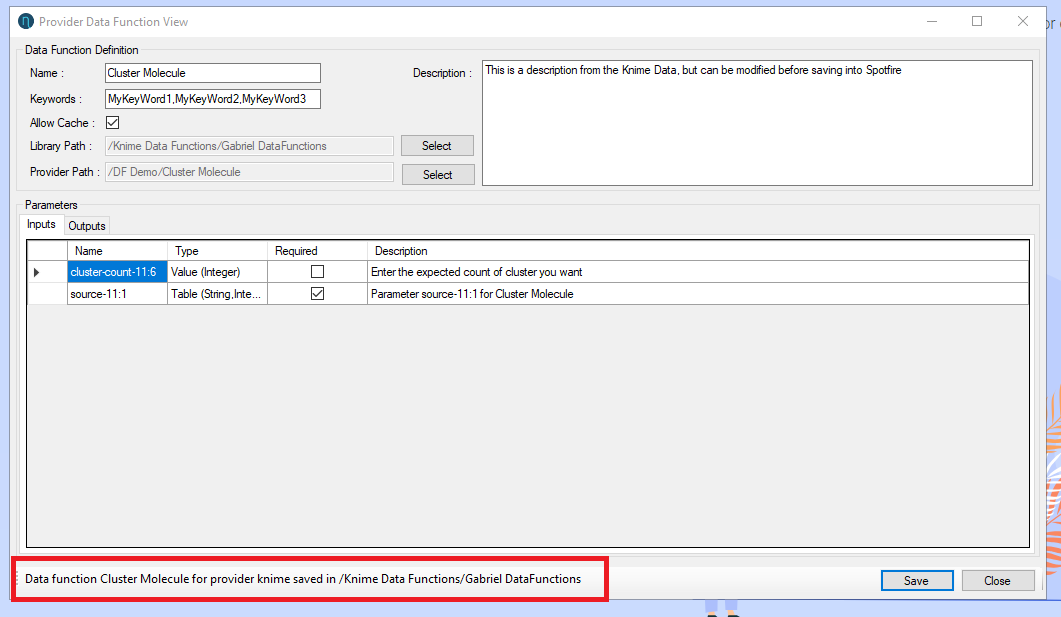
It opens a window to save the new Spotfire Data Function filled with information from the workflow (Name, Description, Tags, Output parameters, Input Parameters).
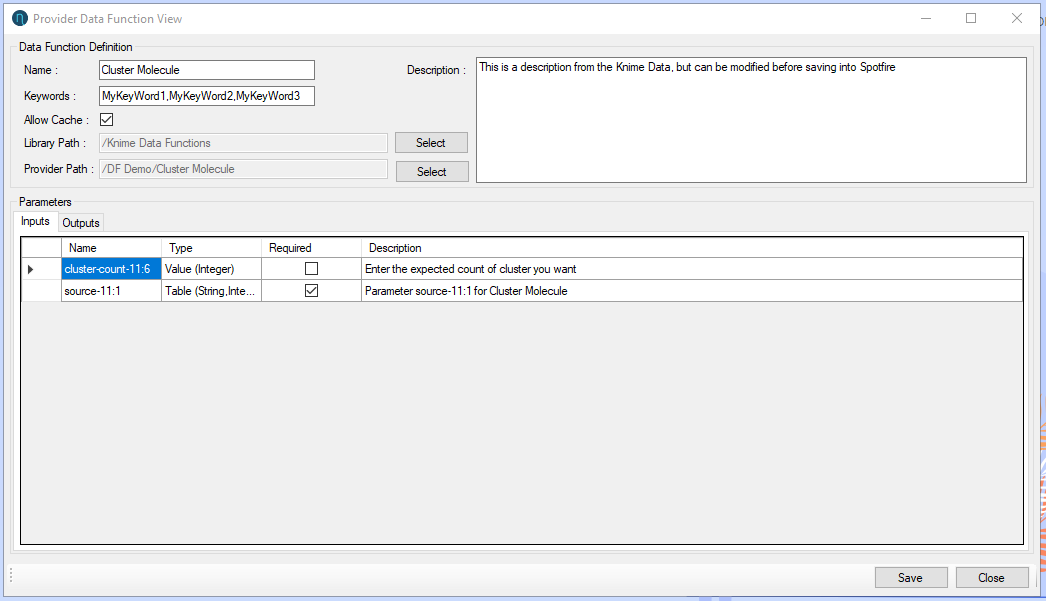
It allows you to modify before save:
- The name of the future Data Function
- The tags (must be comma-separated)
- The description
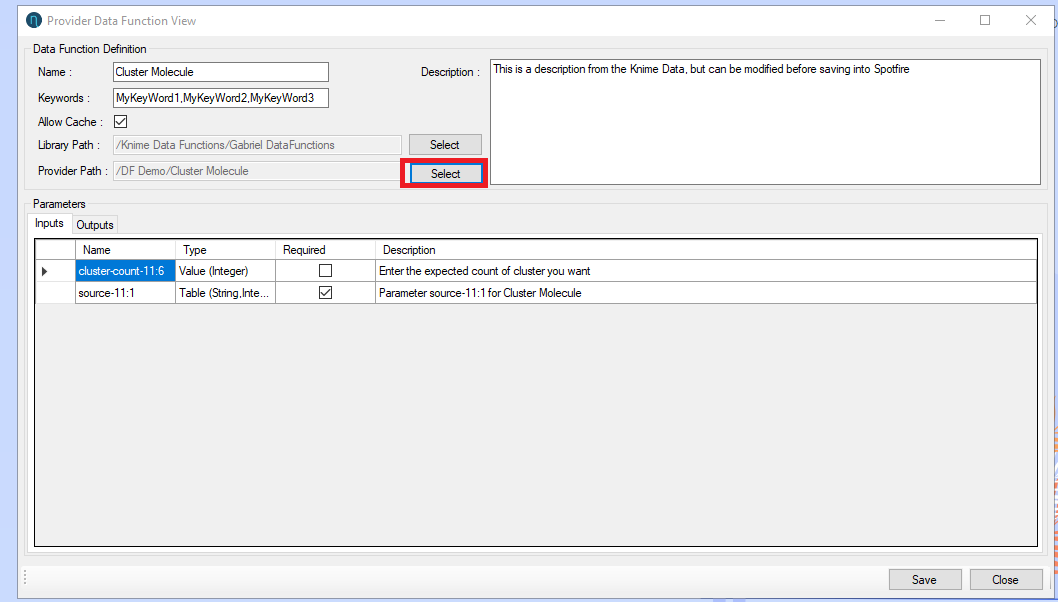
- The folder where the Data Function will be saved (click on the "Select" button beside the Library Path):

- If you have selected a wrong workflow, you can select the right one by clicking on "Select" button beside the Workflow Path
All other fields are read only and are here for you to check every input and output are available
Note: Names of input and output are generated by KNIME itself.
When all changes are ok, you can Save the Data Function.
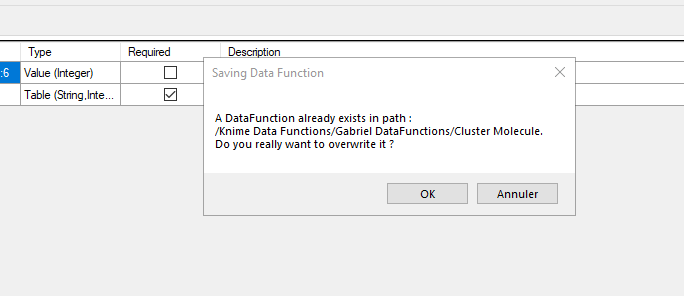
NB: If a Data Function with the same name in the same Spotfire Library location already exists, a warning will be shown to you before saving to ensure you want to overwrite the existing one.
When the Data Function is saved, you will have this message:
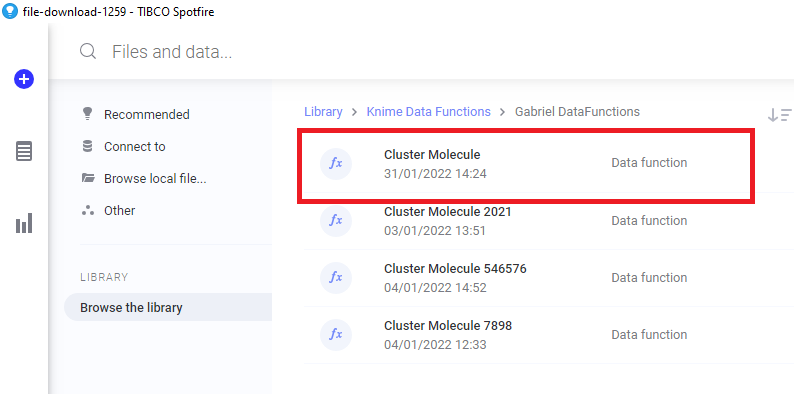
The new Data Function is now available for usage and can be accessed through the Library:
How to use KNIME Data Functions
To add a Data Function to a Spotfire Document, click the + Files and Data button on the quick access panel, then Browse the Library to the folderwhere you saved your Data Function.
Note that given on their input types, some Data Functions might not be visible. For example, Data Functions requiring a Table as input will not be visible from a blank document.
When loading a Data Function, a window will pop up and prompt you to enter the values for the different parameters used in the Data Function.
The Input handlers will depend on the Input type.
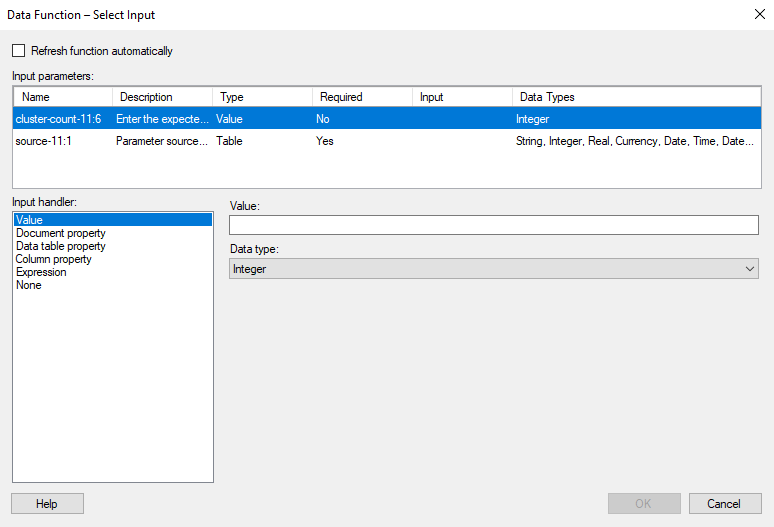
Once all the parameters have been set, click OK to load the Data Function
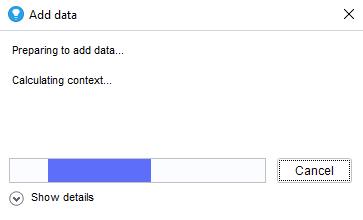
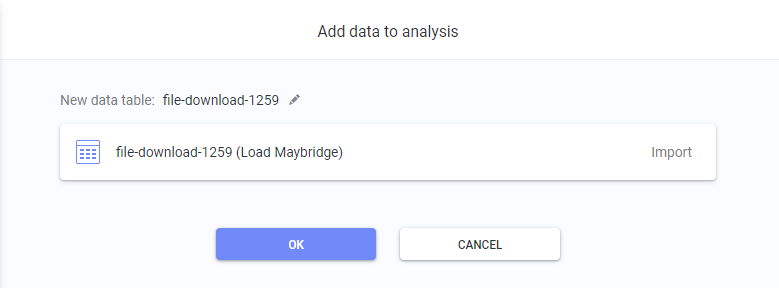
Upon completion, depending on the output parameters of your Workflow, you will have a list of Data Tables to add to your document.
For example with the demo workflow "Load Maybridge Data":
That's it! As a next step, try using a document property to control the workflow parameter, and a Text Area to control the document property. Doing so you can some interactivity to the Spotfire Document.